Welcome to my cozy corner of the kitchen, friends! Today, I’m excited to share a recipe that has been a staple in my home for years: Chocolate Thumbprint Cookies. These delightful treats are more than just cookies; they’re little bites of joy that bring warmth and sweetness to every gathering. Imagine the aroma of freshly baked cookies filling your home, the sound of laughter and conversations as you share them with loved ones. That’s the magic of baking, and I can’t wait for you to experience it with me!
Every time I make these cookies, I’m reminded of my childhood. I would stand on a stool beside my mom, eagerly waiting to dip my thumb into the dough, creating the perfect little indents for the sweet fillings. It was messy, it was fun, and most importantly, it was a moment spent together. So, let’s roll up our sleeves, gather our ingredients, and create some sweet moments together!
Why You’ll Absolutely Love This Chocolate thumbprint cookies
These Chocolate Thumbprint Cookies are truly special, and here’s why:
- They’re incredibly easy to make, perfect for bakers of all skill levels!
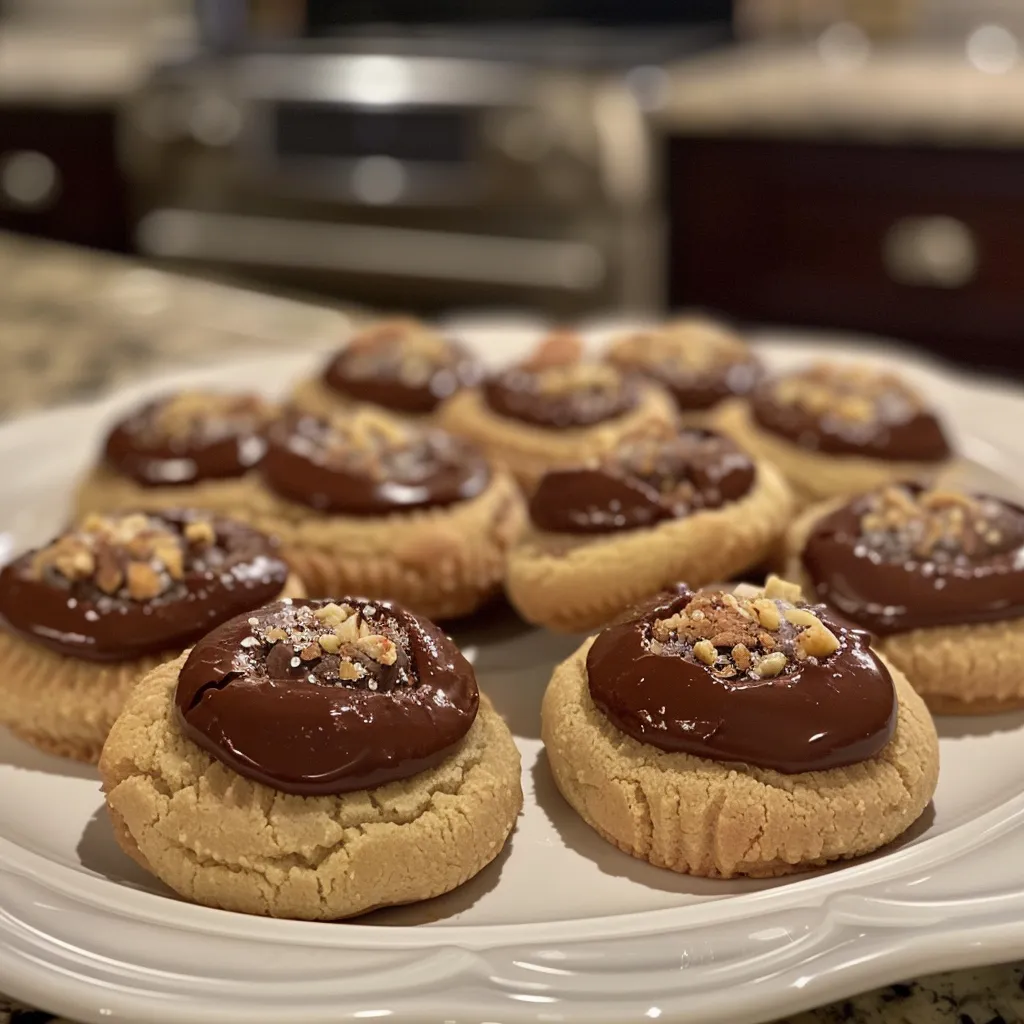
- Each cookie is like a little canvas waiting to be filled with your favorite treats, be it chocolate chips, jam, or even nut butter.
- They’re a delightful blend of rich chocolate and buttery goodness, making them a hit at any gathering.
- Perfect for sharing, these cookies are a wonderful way to spread joy and warmth during the holiday season or any occasion.
Ingredients You’ll Need
Let’s talk about the ingredients that make these cookies so delightful! We’ll start with the basics: unsalted butter and granulated sugar. These create the rich, creamy base that gives the cookies their wonderful texture. Then, of course, we have all-purpose flour and unsweetened cocoa powder, which bring that lovely chocolate flavor to life. A pinch of salt enhances all the flavors, while a splash of vanilla extract adds warmth and depth.
And let’s not forget the fun part—choosing your filling! I love using chocolate chips, but you can also get creative with jam or nut butter. The choice is yours!
You’ll find the full ingredient list with measurements in the recipe card below!
How to Make This Chocolate thumbprint cookies, Step-by-Step
Now, let’s dive into the baking process! It’s as simple as it is rewarding. Here’s how to make these delicious Chocolate Thumbprint Cookies:
1. Preheat your oven to 350°F (175°C) and line a baking sheet with parchment paper. This ensures that our cookies bake evenly and don’t stick!
2. In a large bowl, cream together the softened butter and sugar until light and fluffy. This step is key for that melt-in-your-mouth texture!
3. Add the vanilla extract and mix well, allowing that lovely aroma to fill your kitchen.
4. In another bowl, whisk together the flour, cocoa powder, and salt. This helps to evenly distribute the dry ingredients before combining them with the wet ingredients.
5. Gradually add the dry ingredients to the butter mixture, mixing until just combined. Don’t overmix; we want soft, tender cookies!
6. Roll the dough into 1-inch balls and place them on the prepared baking sheet, spacing them about 2 inches apart. These little cookies will spread a bit while baking!
7. Use your thumb or the back of a teaspoon to make an indentation in the center of each cookie. This is where the magic happens!
8. Fill each indentation with chocolate chips or your choice of filling. Don’t be shy—make it generous!
9. Bake for 10-12 minutes, then allow to cool on the baking sheet for a few minutes before transferring to a wire rack to cool completely. This cooling step is essential for the cookies to set properly.
Pro Tips for the Best Results
Here are a few tips I’ve learned along the way to ensure your cookies turn out perfectly every time:
- Make sure your butter is softened but not melted. This is crucial for achieving that light, fluffy texture.
- If you’re using jam as a filling, opt for a thicker variety to avoid it running out of the indentation while baking.
- Experiment with different fillings! Nut butters, caramel, or even fruit preserves can add a delightful twist to these cookies.
Serving Suggestions
These Chocolate Thumbprint Cookies are perfect for any occasion! Serve them at holiday gatherings, cozy family get-togethers, or simply enjoy them with a cup of tea or coffee on a quiet afternoon. For an extra special touch, you could dust them with powdered sugar or drizzle some melted chocolate on top for a beautiful presentation. They also make lovely gifts—just package them in a cute tin or box, and you’ve got a heartfelt present!
Storage and Make-Ahead Tips
If you’re planning to make these cookies ahead of time, you’re in luck! They store wonderfully. Keep them in an airtight container at room temperature for up to a week. For longer storage, you can freeze the unbaked cookie dough balls. Just roll them and place them on a baking sheet to freeze, then transfer to a freezer bag. When you’re ready to bake, simply take them out, let them thaw for a few minutes, and proceed with the indentation and filling. Freshly baked cookies, whenever you want them!

Chocolate thumbprint cookies
Ingredients
Method
- Preheat oven to 350°F (175°C) and line a baking sheet with parchment.
- Cream butter and sugar until fluffy, then add vanilla.
- Mix in flour, cocoa, and salt; form 1-inch balls and place on sheet.
- Make an indentation in each cookie and fill with chocolate chips.
- Bake for 10-12 minutes, cool on sheet then transfer to wire rack.
Notes
Loved this recipe? Save it to your favorite Pinterest board so you can easily find it later! It’s the perfect way to keep all your sweet ideas in one place. ✨