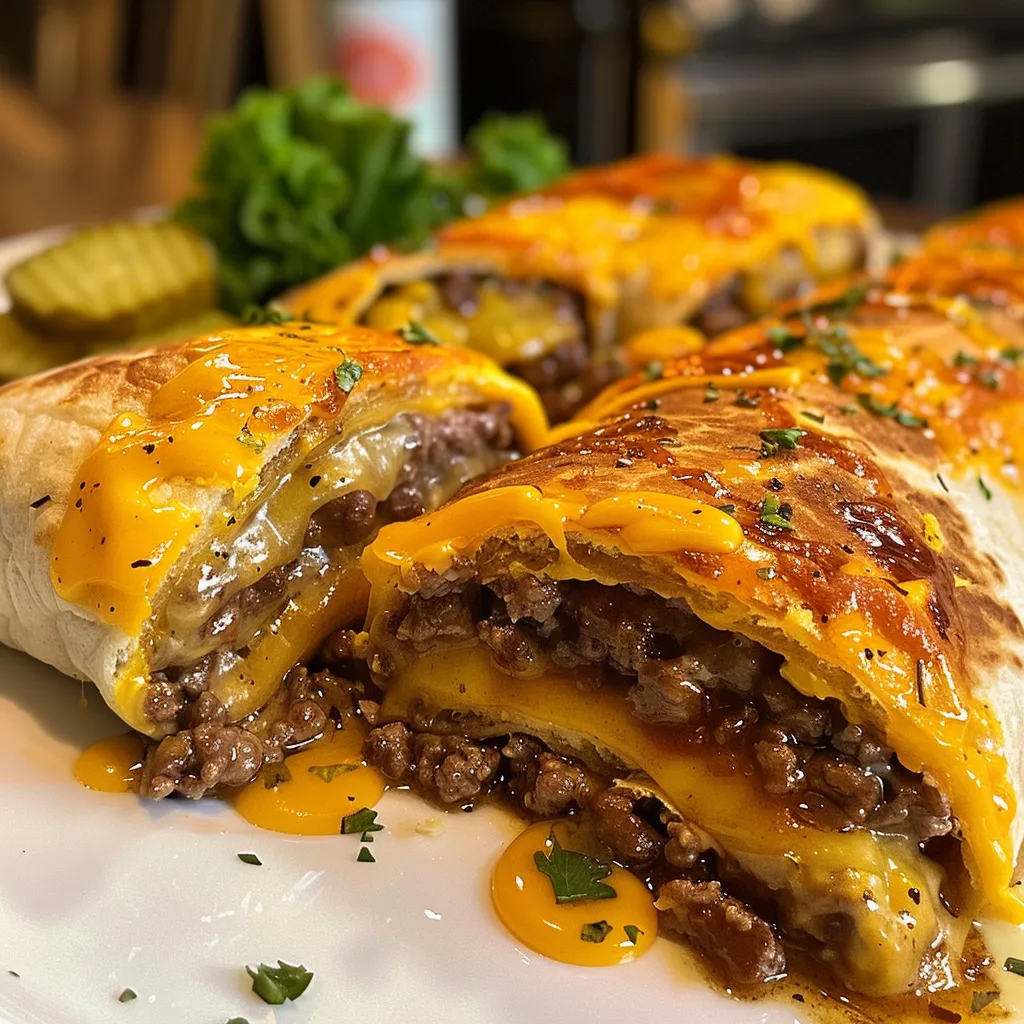
Hey there, fellow food lovers! Are you ready for a dinner recipe that’s both fun and flavorful? Today, I’m super excited to share with you how to make Beef Cheeseburger Rollups—a twist on the classic burger that’s perfect for quick family dinners. These rollups are not only delicious but also easy to make, fitting perfectly into your weeknight dinner ideas. Plus, they’re a great way to enjoy something yummy for dinner without the hassle of traditional burgers. Let’s dive in and get started!
Why You’ll Love This Recipe
- Perfect for quick family dinners
- Packed with creamy garlic butter flavor
- Easy to customize with your favorite toppings
- Ready in just 30 minutes
- Great for meal prep or weeknight dinner ideas
Ingredients
Here’s what you’ll need to make these delicious Beef Cheeseburger Rollups:
- 1 lb ground beef
- ½ cup shredded cheddar cheese
- ½ cup shredded mozzarella cheese
- 1 tablespoon olive oil
- 4 large flour tortillas
- ¼ cup butter, melted
- 3 cloves garlic, minced
- 1 tablespoon Worcestershire sauce
- 1 teaspoon onion powder
- 1 teaspoon garlic powder
- ½ teaspoon smoked paprika
- Salt and black pepper, to taste
- Optional: sliced pickles for garnish
Full ingredient list with measurements is provided in the printable recipe card below.
How to Make the Recipe
Let’s walk through how to make these Beef Cheeseburger Rollups step by step:
- Preheat your oven to 375°F (190°C). Line a baking sheet with parchment paper or lightly grease it.
- Heat olive oil in a large skillet over medium-high heat. Add the ground beef and cook until browned, breaking it up with a spatula—about 7–8 minutes.
- Stir in Worcestershire sauce, onion powder, garlic powder, smoked paprika, salt, and pepper. Mix well and remove from heat. Allow the beef mixture to cool slightly.
- In a small bowl, combine melted butter with minced garlic. Stir well and set aside.
- Lay tortillas flat on a clean surface. Evenly distribute the beef mixture over each tortilla, then top with cheddar and mozzarella cheese.
- Roll each tortilla tightly, tucking in the sides to secure the filling. Place seam-side down on the baking sheet. Brush generously with the garlic butter.
- Bake for 12–15 minutes, until the roll-ups are golden and the cheese inside is melted and bubbly.
- Let cool slightly before slicing into pinwheels, if desired. Garnish with sliced pickles and serve warm.
Pro Tips for Making the Recipe
Here are some tips to make your Beef Cheeseburger Rollups even better:
- Use high-quality ground beef for the best flavor.
- Add some diced onions or bell peppers to the beef mixture for extra flavor.
- For an extra crispy exterior, brush the roll-ups with a little bit of oil before baking.
- Let the roll-ups cool for a few minutes before slicing to prevent them from falling apart.
How to Serve
These Beef Cheeseburger Rollups are perfect as a main dish or as a snack. Here are some ideas for serving:
- Serve with a side of creamy garlic pasta for a well-rounded meal.
- Pair with a fresh green salad for a lighter option.
- Serve with your favorite dipping sauce, like ranch or salsa.
Make Ahead and Storage
These roll-ups are great for meal prep or making ahead:
- Prepare the beef mixture and store it in the fridge for up to 24 hours before assembling and baking.
- Baked roll-ups can be stored in an airtight container in the fridge for up to 3 days. Reheat in the oven or microwave until warmed through.
- Freeze unbaked roll-ups on a baking sheet, then transfer to a freezer-safe bag for up to 2 months. Bake frozen roll-ups at 375°F (190°C) for an additional 5-7 minutes.
And there you have it—delicious Beef Cheeseburger Rollups that are perfect for quick family dinners or as a fun twist on traditional burgers. Give this recipe a try and let me know what you think in the comments below! If you’re looking for more easy dinner recipes, be sure to check out my posts on Garlic Butter Beef Bites, Texas Roadhouse Beef Tips, and Cattle Drive Casserole. Happy cooking!

Easy Garlic Butter Beef Cheeseburger Rollups
Ingredients
Method
- Set oven to 375°F (190°C). Line a baking sheet with parchment paper or lightly grease it. Heat olive oil in a large skillet over medium-high heat. Add ground beef and cook until browned, breaking it up with a spatula—about 7–8 minutes.
- Stir in Worcestershire sauce, onion powder, garlic powder, smoked paprika, salt, and pepper. Mix well and remove from heat. Allow the beef mixture to cool slightly.
- Lay tortillas flat on a clean surface. Evenly distribute the beef mixture over each tortilla, then top with cheddar and mozzarella cheese.
- Roll each tortilla tightly, tucking in the sides to secure the filling. Place seam-side down on the baking sheet. Brush generously with the garlic butter.
- Bake for 12–15 minutes, until the roll-ups are golden and the cheese inside is melted and bubbly. Let cool slightly before slicing into pinwheels, if desired. Garnish with sliced pickles and serve warm.

