Ah, the holiday season! It’s that magical time of year when the air is filled with the sweet scent of baked goods, and the streets twinkle with festive lights. As we gather around the kitchen, there’s nothing that brings more joy than decorating Christmas cookies together. I still remember the first time I tried my hand at cookie decorating; the kitchen was a flurry of laughter, icing, and sprinkles, and I knew I had stumbled upon a cherished holiday tradition. Today, I want to invite you into my kitchen to create cheerful and festive Christmas cookie decorations that will not only satisfy your sweet tooth but also bring warmth and joy to your holiday celebrations. Let’s make sweet memories together!
Why You’ll Absolutely Love This Christmas cookies decorations
This Christmas cookie decorating adventure is not just about making something delicious; it’s about creating moments filled with laughter and love. Here’s why you’ll absolutely adore this recipe:
- It’s a fun and engaging activity that the whole family can enjoy together.
- Each cookie can be personalized, making them perfect gifts or festive treats.
- The process of decorating allows for creativity to shine; no two cookies will look the same!
- These cookies are not only beautiful but also delicious, making them a hit at any holiday gathering.
Ingredients You’ll Need
Now, let’s talk about the ingredients that will bring our delightful cookie decorations to life. I’ve chosen simple, accessible ingredients that you might already have in your pantry. The star of the show is powdered sugar, which will help us create a smooth and sweet icing. We’ll add a splash of milk and a hint of vanilla extract for that comforting flavor that makes everything better. And let’s not forget the vibrant food coloring! It’s what will transform our plain icing into a palette of festive colors. The sprinkles, edible glitter, crushed candy canes, and chocolate chips? Well, they’re just the cherry on top, adding the finishing touch to our sweet masterpieces.
You’ll find the full ingredient list with measurements in the recipe card below!
How to Make This Christmas cookies decorations, Step-by-Step
Ready to dive into the fun? Here’s how to make these festive cookie decorations step-by-step:
- In a bowl, mix together 1 cup of powdered sugar, 2 tablespoons of milk, and 1/2 teaspoon of vanilla extract until smooth. This will be your icing.
- Next, divide the icing into separate bowls and add food coloring to each to create a rainbow of colors. You can stick to traditional reds and greens or get adventurous with blues and purples!
- Once your cookies are baked and cooled (I recommend my favorite sugar cookie recipe for a perfect base), grab a piping bag or a small spatula to spread the colored icing on each cookie.
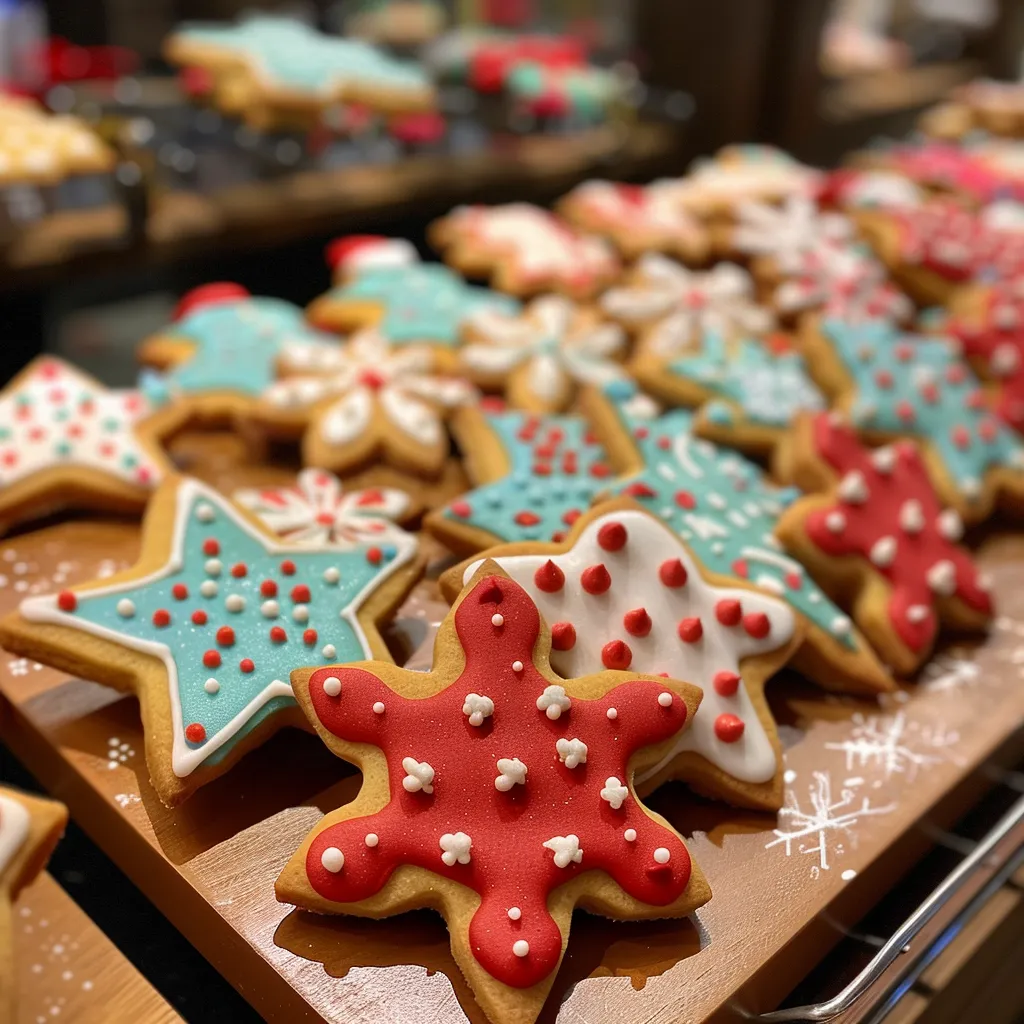
- Now comes the fun part! Decorate your cookies with sprinkles, edible glitter, crushed candy canes, and chocolate chips as desired. Let your creativity flow!
- Finally, let the decorations set for a few minutes before serving or packaging. This will ensure that your beautiful creations hold their shape.
Pro Tips for the Best Results
Here are a few tips from my kitchen to yours to ensure your cookie decorating goes off without a hitch:
- Make sure your cookies are completely cool before decorating; warm cookies can cause the icing to melt and run.
- If you want to create more intricate designs, consider using a piping bag with different tips; it gives you more control over your icing application.
- Don’t be afraid to mix colors! Swirling in different hues can add a beautiful depth to your cookie designs.
Serving Suggestions
These beautifully decorated cookies can be served in a variety of delightful ways! Arrange them on a festive platter to showcase your hard work or package them in cute holiday bags tied with ribbons for thoughtful gifts. They also make a wonderful centerpiece for your holiday dessert table. And, of course, share them with friends and family during gatherings for an extra touch of sweetness to your celebrations!
Storage and Make-Ahead Tips
If you’re planning ahead, you can certainly make your cookies in advance! Store the decorated cookies in an airtight container at room temperature for up to a week. If you want to make them even earlier, bake the cookies and freeze them before decorating. They can last in the freezer for up to three months. Just remember to let them cool completely before wrapping them up! When you’re ready to decorate, pull them out and let them thaw at room temperature. It’s that easy!

Christmas cookies decorations
Ingredients
Method
- Mix powdered sugar, milk, and vanilla to make icing.
- Divide icing and add food coloring for different colors.
- Spread colored icing on cooled cookies.
- Decorate with sprinkles, glitter, crushed candy canes, and chocolate chips.
- Let decorations set before serving.
Notes
Loved this recipe? Save it to your favorite Pinterest board so you can easily find it later! It’s the perfect way to keep all your sweet ideas in one place. ✨